
Spooky Words Pumpkin

If you’re looking for an easy way to update an old pumpkin or perhaps just looking for a unique way to makeover a new pumpkin, I have a really fun neutral Fall/Halloween DIY for you! You can watch the full video on my YouTube here:

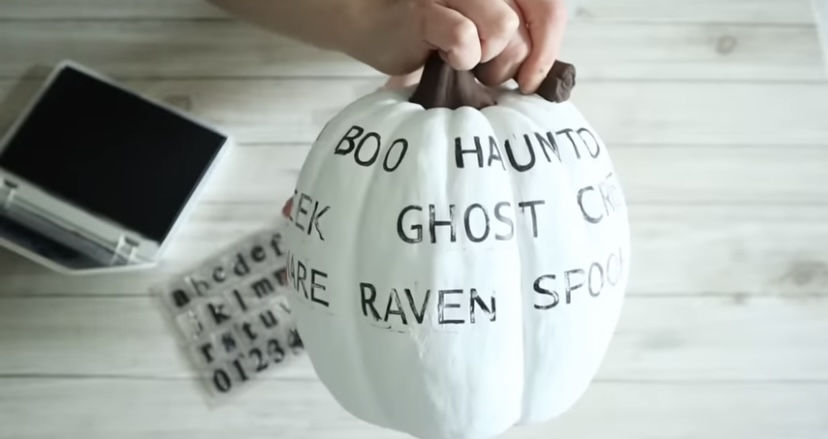
To start you’ll need a pumpkin. I’ve had this cement pumpkin from Marshall’s for many years and every year I just change it up! You can use any size pumpkin or maybe do a few in different sizes!

I started out by painting my stem with some acrylic paint in the color, Burnt Umber.

Then I moved on to paint the pumpkin with 2 coats of white chalk paint. You can use white or another light color you like for this. So long as black ink will show up well.


Then I grabbed some 1 inch clear alphabet stamps that I got from Amazon and my black Archival ink stamp pad.

Now for the fun part! Just think of as many Fall/Halloween words as you can and start stamping them onto your pumpkin! You won’t be able to use an acrylic block for this since the shape of the pumpkin is lumpy and I ended up stamping my words one letter at a time. It’s definitely easier to do if you have clear stamps.

I worked my way around the pumpkin at the top to make the first row of words. I had actually written down a bunch of words beforehand to make it easier.
Once the first row was done, I moved down a bit and started my second row of words. Then just continued around and down until my pumpkin was covered in spooky words.

I added some European Gold Rub N Buff to the stem.

Then I realized the pumpkin was a bit stark white for the aged creepy look I was going for, so I added some of that Rub N Buff to the creases of the pumpkin as well. And that was it! A really simple, fun way to update an old pumpkin.


Comments
Post a Comment