
Paper Mache Ghost Vase
This "not too spooky" Paper Mache ghost planter vase is the perfect addition to your Halloween Decor and super easy to do! If you'd prefer to watch the full tutorial, you can find it here on my YouTube channel: https://youtu.be/DBQNLWMRzJs?si=dc3-xeIdZRbitx6e

I found a ceramic ghost planter vase on Pinterest last year that I thought was so cute, but the price tag was just not doing it for me so I figured I could attempt to recreate it with some Paper Mache!
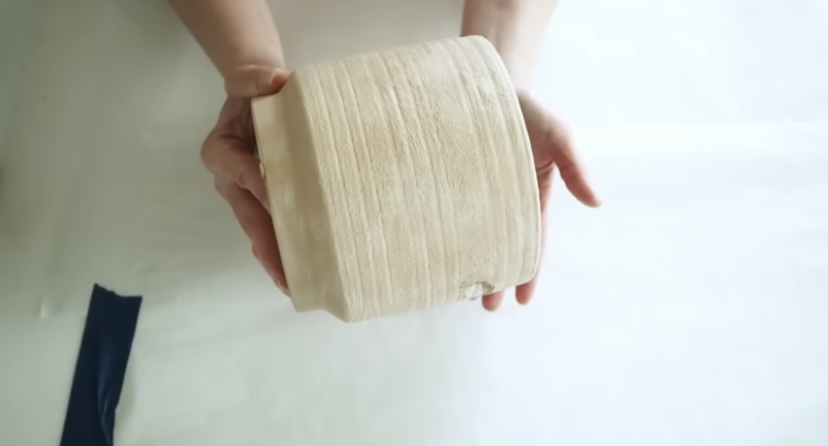
To start out, you'll need a planter. I had this ceramic one already, but you could grab a plastic one from the Dollar Tree or you could use things you have around the house like a coffee cannister. As long as it's round, it'll work! Don't worry about what it looks like because the entire thing is going to be covered.

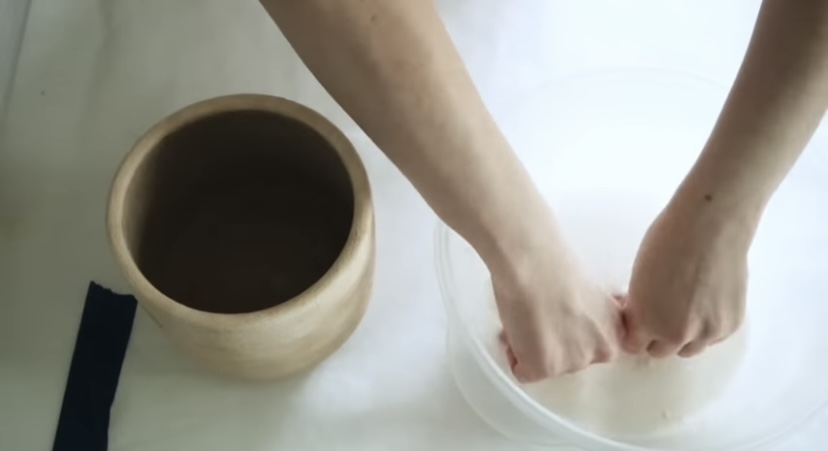
I used an old bowl and started to mix up my paper mache glue. I used warm water, some Elmer's school glue, some flour (about two tablespoons), and a teaspoon of salt to keep my paper mache from molding. I didn't measure the water or the glue, but you'll want your mixture to be like a runny pancake batter.

Once you have all your ingredients in a bowl, mix it well until at least most of the flour is blended in. It's ok to have a few little clumps of flour. It won't hinder your project and eventually they'll dissolve as you're working.

For the paper, you can use recycled paper, newspaper, whatever you have. I didn't have enough recycled paper on hand however, so I grabbed a pack of Dollar Tree packing paper (It's usually in the office stuff aisle).

I cut a bunch of strips down out of the paper about the length of my planter pot. They don't all have to be even or uniform and just cut as many as you think you'll need. I didn't count how many pieces I made, but I just cut about half of my package of paper.
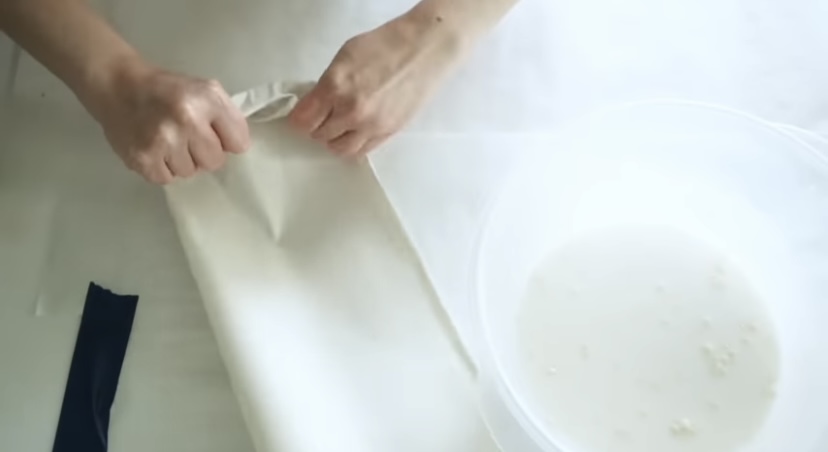
With the leftover paper, I left them exactly as they were folded in the package and rolled six of them from one end to the other. These are going to be the pleats for the ghost "sheet".
I started my ghost by dipping the rolled pieces into the glue mixture, making sure to get it nice and saturated. Use your fingers and slide down the piece over the bowl to remove a lot of the excess mixture so it's not dripping wet.

Squeeze the top of the rolled up paper together to flatten it out a bit.

Then I placed the roll of paper onto my planter and pushed the flatten out part over the rim of the planter. You'll notice this doesn't completely stick to your planter because it's such a thick piece, but the idea is to have it stick well enough just to get it in place. You're going to encase these pieces later.

Continue adding your rolled up pieces to your planter. I ended up working with three at a time to make it easier to keep the pieces on the planter. Spread your pieces out as evenly as possible to make it look like a ghost.

Once I had the first three rolled up pieces stuck to my planter, then I started to paper mache over them. I grabbed one piece of the paper strips at a time, dipped it into the mixture, removed the excess with my fingers (so it's not dripping wet), then pressed it onto my planter to cover my rolled pieces.

The pieces I cut down were thinner than my rolled pieces so I ended up covering them with two pieces each (one on each side of the rolled piece). Press your pieces onto the rolled piece then against the planter to seal your "pleats".

Once I finished the first side, then I did the same thing on the other side.
Continue working your way around the planter with the glue mixture and paper strips until you have the entire thing covered. Don't worry about how it looks right now. You just want to get a base layer done.

As you can see above, this is what mine looked like when I was finished with the first layer and it has some lumps etc. Again. don't worry about that for now.
I sat mine outside in the sun for a few hours until the first layer was completely dry. I recommend doing the same if you can because it helps speed up the drying time and you'll need this to be completely dry before doing a second layer.

I brought it back inside after it dried and went around the entire thing again to do a second layer of the glue mixture and the paper strips. Try staggering your strips a little on this layer so that you can start to fix any areas that aren't smooth. Again, it doesn't have to be perfect on this layer either, but it's good to go ahead and start fixing some areas.
Once I finished the second layer, I sat this back outside in the sun until it was dry.

Once it was dry, it was time to fix the bottom. Some of my strips were longer that others, so I needed to make it even all the way around first. I just found the shortest strip hanging and cut around the planter with some scissors to make all the other strips even with that one.
Then I wanted to make them look nicer, so I cut some of those leftover paper strips in half, dipped them into the glue mixture, then folded them over the bottom.

Push one side inside and smooth the other side over the outside. Then let that dry in the sun again.

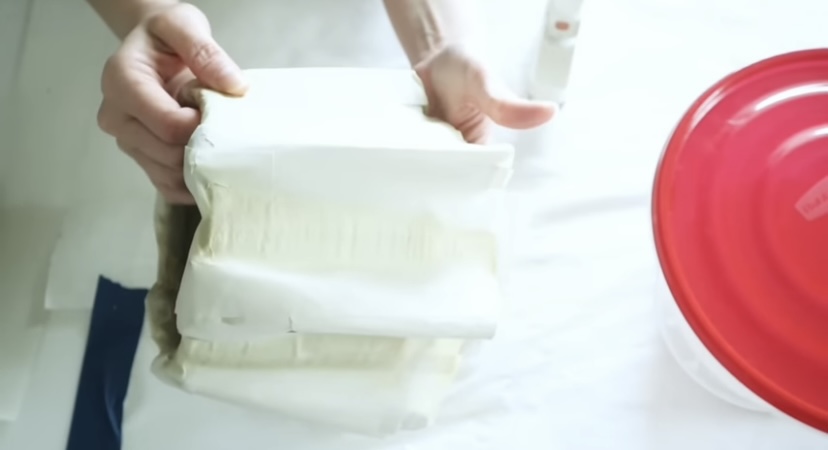
For the third and final layer (The layer that's really gonna make everything look nice and tidy and fix anything), grab some paper towels or napkins and cut those down into thicker strips. You'll want these to be wide enough to go from one side of your "pleat" to the other side to fully cover it.
Dip the strips into the glue mixture and attach them all the way around your planter again.

Here's what mine looked like after the napkin/paper towel layer. Again, let this dry completely.

Once it was dry, I brought it back inside and mixed up some white chalk paint and baking soda. The napkin or paper towel is going to give this planter texture from whatever print is on them, so I decided to add even more with this paint mixture. I did two coats on here.

Then I grabbed some tan/cream colored paint and wet my paint brush. I very lightly added some of the watery paint in random spots and rubbed them in with my finger to give the ghost some aged detail.

Then I used a little bit of black paint in random areas and just dabbed it on lightly.

Then it was time to add some eyes! You can free hand these if you want, but the shape was awkward and I didn't want to mess them up so I used an oval stencil I got from Amazon and a pencil to trace mine out first.

Then I just filled in the ovals with some black chalk paint and my ghost planter was complete!


Comments
Post a Comment