Air Dry Clay Ghosts Candle Holders
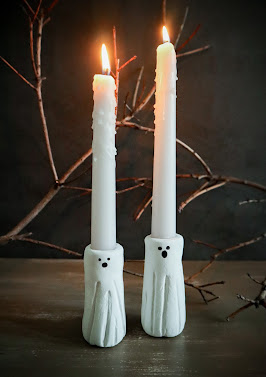
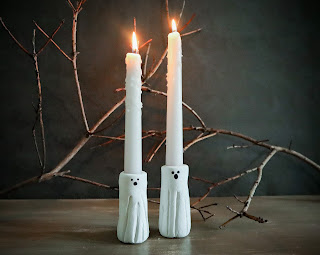
If you’re looking for a fun and simple “spooky” craft to add to your Halloween decor, these little ghosts candle holders are the perfect addition!
If you would prefer to watch the tutorial, you can find it here on my YouTube: https://youtu.be/SUeBVSYLlao
I started this project by grabbing a large ball of my air dry clay (I used Sculpey for these, I also love DAS air dry clay!)
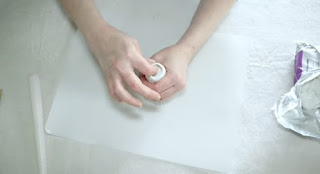
Roll your clay around in your hands to warm it up. I think most people either don’t know or forget this step, but it’s really important to “knead” your air dry clay before working with it. You want it to soften a little.
Once I had it warmed up, I started to roll it in my hands and on a cutting mat to shape it into a ghost. Just keep working with it until you have a ghost shape (a little slimmer on top than bottom). Be sure to flatten the bottom and the top of your ghost.
Now I wanted to turn these into taper candle holders, so I grabbed some that I already had from the Dollar Tree.
Then I very gently and carefully, pressed my taper candle into the top of my clay ghost. I pressed it down into the clay about 2/3 inches. Again, be careful and gentle when you do this because you don’t want to crack the clay.
Once I had my taper deep enough to stand sturdy in the ghost, I removed it and began to pinch and shape the rim of the hole I just made. You may have to dry fit your candle a few more times while doing this since shaping the top will change the size of the hole you made.
When I was completely happy with my ghost, I dipped my finger in a little bit of water and rubbed it all over the candle holder. You can smooth out any cracks or imperfections with this technique!
While my clay was still wet, I used the end of a small paint brush to press little lines into the bottom of the ghost to make his “sheet”.
I also ran the end of the paintbrush down my ghost to make other lines.
When you’re finished, set your clay ghosts aside to completely dry.
I let mine dry overnight before using a sharpie to draw their eyes and mouth. I let them dry a few more days before actually using them to make sure the clay was nice and hard.


Comments
Post a Comment